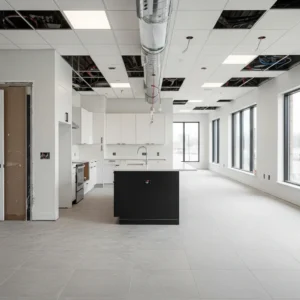
Renovating your home or finishing a new build is an exhilarating milestone, but the aftermath often looks like a dust storm collided with a hardware store. If you have recently managed a project involving construction site cleaning in Roseville, CA, you know that the fine layer of silt settling on every surface is more than just an eyesore. It is a stubborn reminder that the job isn’t quite finished until the debris is gone. This post construction cleaning checklist is designed to help you navigate the transition from a chaotic work zone to a pristine living area. At Meticulosity Cleaning, we have seen how a systematic approach can save your sanity and your vacuum cleaner. Taking the time to address every nook and cranny ensures that your new investment shines exactly the way you envisioned it during the planning phase.
Safety and Preparation Before You Begin
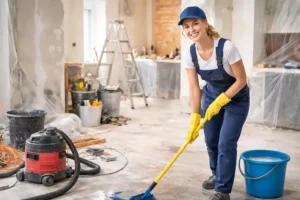
Before you dive into the heavy lifting, you must prioritize your physical well-being. Construction dust is not your average household lint; it often contains silica, drywall particles, and other irritants that can wreak havoc on your lungs. Always wear a high quality mask and gloves before starting any phase of your post construction cleaning checklist. You should also ensure the HVAC system is turned off during the initial sweep to prevent circulating more dust through the vents. Gather your supplies in one central location so you are not constantly running back and forth. You will need a shop vacuum with a HEPA filter, microfiber cloths, a sturdy mop, and non abrasive cleaning solutions. It is helpful to open a few windows to improve ventilation, provided the weather outside isn’t contributing more dirt to the equation. Starting with a clear plan prevents you from spreading the mess further.
Managing the Initial Debris
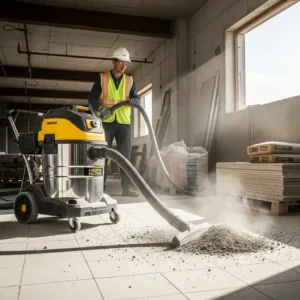
The first step involves removing the larger items that the contractors might have left behind. This includes wood scraps, protective plastic coverings, and stray nails. Walking through the space with a large trash bin allows you to clear the floor for more detailed work later. Be careful when pulling up blue painters tape or floor protection to avoid scratching the new finishes underneath. Once the floor is visible, use a broom to gather the heaviest piles of sawdust. Do not try to use a standard upright vacuum yet, as the sheer volume of drywall dust can easily burn out a residential motor. A shop vacuum is your best friend during this stage because it can handle the grit without complaint.
Setting Up a Cleaning Zone
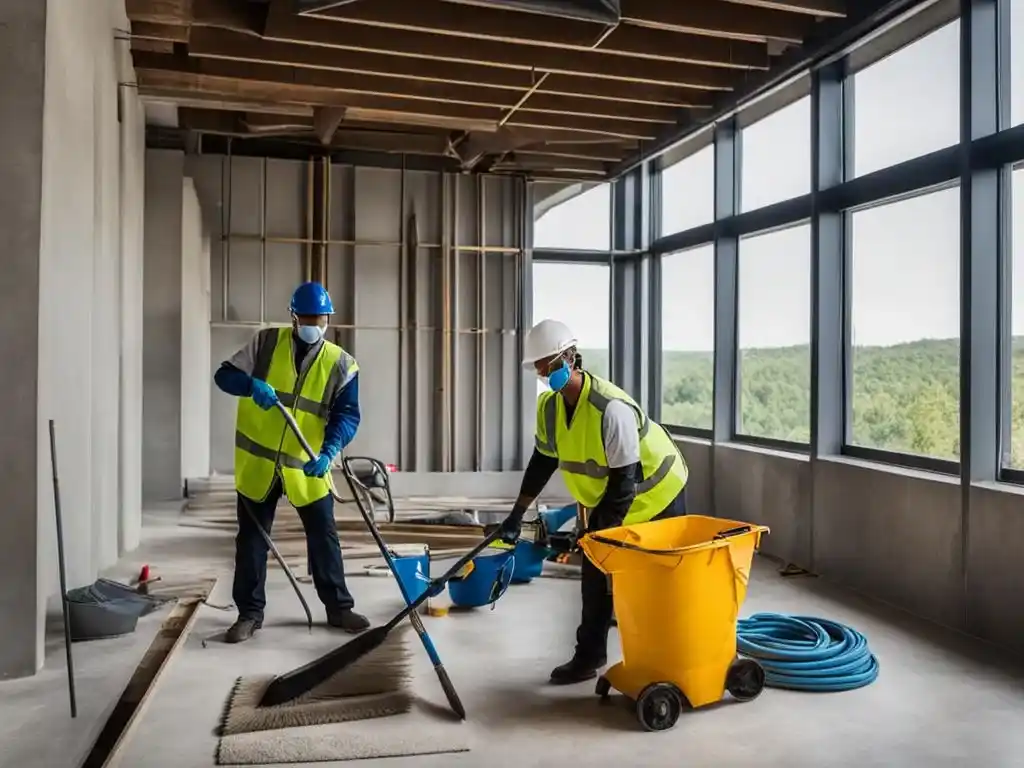
Creating a staging area helps keep your tools organized and prevents cross contamination. If you are cleaning a multi room house, start from the farthest point and work toward the exit. This ensures you are not walking over freshly cleaned floors to reach a dirty room. Keep a bucket of warm soapy water nearby and change it frequently. If the water looks like chocolate milk, you are just moving mud around rather than removing it. Having a dedicated spot for dirty rags ensures you don’t accidentally use a gritty cloth on a polished marble countertop.
The Top Down Dusting Strategy
One of the most important rules of a post construction cleaning checklist is to always work from the ceiling down to the floor. Gravity is a constant force, and as you wipe down light fixtures or crown molding, particles will inevitably fall. If you clean the floors first, you will find yourself repeating the work an hour later. Start by using a long handled duster to reach ceiling fans, recessed lighting, and the tops of cabinets. Many people forget to wipe the tops of doors and window frames, which are notorious for hiding thick layers of silt. Use a damp microfiber cloth for these areas, as a dry one will simply kick the dust back into the air. Pay close attention to the walls as well; while they might look clean, a quick wipe with a damp cloth often reveals a surprising amount of drywall residue.
Detailed Surface Wiping
After the high points are addressed, move your focus to the mid level surfaces. This includes bookshelves, mantels, and countertops. If your project involved cabinetry, open every single drawer and cabinet. It is a common mistake to think the insides are clean because the doors were closed. Dust has a way of migrating through the smallest gaps. Vacuum the interior of every drawer before wiping them down with a mild cleanser. This is also the time to polish any hardware like knobs or pulls that might have been handled by greasy fingers during the installation process.
Windows and Glass Clarity
Windows often bear the brunt of a renovation, covered in stickers, overspray, and thick grime. Use a plastic scraper very gently to remove any adhesive residue or paint flecks. Avoid using metal blades that could leave permanent marks on the glass. A simple solution of vinegar and water works wonders for achieving a streak free finish. Remember to clean the window tracks and sills too. These deep grooves often collect a significant amount of grit that can interfere with the window closing properly if left unattended.
Sanitize Kitchens and Bathrooms
Kitchens and bathrooms require a higher level of scrutiny due to the presence of plumbing and food preparation surfaces. The post construction cleaning checklist for these areas should emphasize deep sanitation. Start by vacuuming out the insides of the vanity and under the sink. Builders often leave small pieces of pipe or sawdust in these hidden spots. Wipe down the backsplash and all tiled surfaces. If new grout was recently applied, look for grout haze, which is a milky film that appears as the material cures. You might need a specific grout haze remover to get that perfect sparkle. Sanitize the sinks, faucets, and any appliances that were installed. Even if they are brand new, they have likely been touched by multiple people and covered in fine particulates.
Polishing Fixtures and Appliances
Chrome and stainless steel fixtures are magnets for fingerprints and dust. Use a soft cloth to buff these surfaces until they gleam. For new appliances, remove all the internal tape and cardboard packaging that is often hidden in the back of the fridge or oven. Check the filters in your dishwasher and range hood, as they might have already trapped some construction debris. Ensuring these areas are spotless not only looks better but also ensures your new equipment functions efficiently from day one.
Floor Care and Final Sweeping
The final stage of the kitchen and bath process is the floor. Whether you have tile, laminate, or hardwood, the cleaning method must be gentle. Avoid excessive water on wood floors, as it can seep into the seams. Instead, use a damp mop and a pH neutral cleaner. For tile, you might need to scrub the grout lines with a soft brush to remove any stubborn stains. Once the floors are dry, walk through the room with a flashlight at a low angle to catch any missed spots or lingering footprints.
Flooring and Final Touches
The floors are the last item on your post construction cleaning checklist because they catch every bit of falling debris from the previous steps. For carpeted areas, a high powered vacuum with a HEPA filter is mandatory. You may need to go over the carpet three or four times to pull the fine dust from the deep fibers. If the dust was particularly heavy, consider hiring a professional carpet cleaner to steam the floors. For hard surfaces like hardwood or LVP, the goal is to remove all grit that could cause scratches. Use a microstatic mop to pick up the finest particles before finishing with a damp mop. This two step process ensures the floor is truly clean rather than just looking clean on the surface.
Baseboards and Thresholds
Baseboards are the finishing touch of any room, yet they are frequently overlooked. Wipe them down with a damp cloth to remove any scuffs or dust. Check the transitions between rooms and the metal thresholds in doorways. These areas collect a lot of foot traffic and dirt during the final days of a project. A quick polish here makes the whole house feel brand new. Also, take a moment to wipe down the light switches and outlet covers, as these are frequently touched but rarely cleaned during the hustle of a build.
Air Quality and Filter Replacement
Your final task is to address the air you breathe. During the messiest parts of the project, your air filters likely worked overtime. Even if they look okay, it is best to replace every filter in the house once the cleaning is finished. This prevents the HVAC system from blowing old construction dust back into your freshly scrubbed rooms. If you have a central vacuum system, remember to empty the canister and check the hose for clogs. Once the air is clear and the surfaces are shining, you can finally sit back and enjoy your beautiful new space.
Frequently Asked Questions
What is a post construction cleaning checklist?
A post construction cleaning checklist is a detailed guide to remove dust, debris, and residues, ensuring spaces are safe, polished, and ready for use.
Why is post construction cleaning important?
It prevents dust accumulation, improves air quality, protects new surfaces, and creates a safe, clean environment for occupants or business operations after construction.
How long does post construction cleaning usually take?
The time depends on project size and complexity, ranging from a few hours for small homes to several days for large commercial sites.
Can I handle post construction cleaning myself?
Small projects can be managed personally, but larger sites benefit from professional services for thorough dust, debris, and safety hazard removal.
What tools are essential for post construction cleaning?
HEPA vacuums, microfiber cloths, mops, scrapers, eco-friendly cleaners, and proper protective gear ensure efficient and safe post construction cleaning results.
Conclusion
Completing a renovation is a huge achievement, but the final hurdle is always the mess left behind. By following a structured post construction cleaning checklist, you can systematically remove the grit and grime that hides the beauty of your new space. From the initial debris removal to the final polish of the baseboards, every step is vital for a healthy and inviting environment. If the task feels overwhelming or you simply want the peace of mind that comes with a professional touch, let the experts handle the heavy lifting. You can trust the team at meticulositycleaning.com to bring out the best in your home. We specialize in deep cleaning that goes beyond the surface, ensuring your transition into your new space is seamless and sparkling.